Price: £49.99 - £37.53
(as of Aug 27, 2024 14:31:11 UTC – Details)
Rearview Cameras
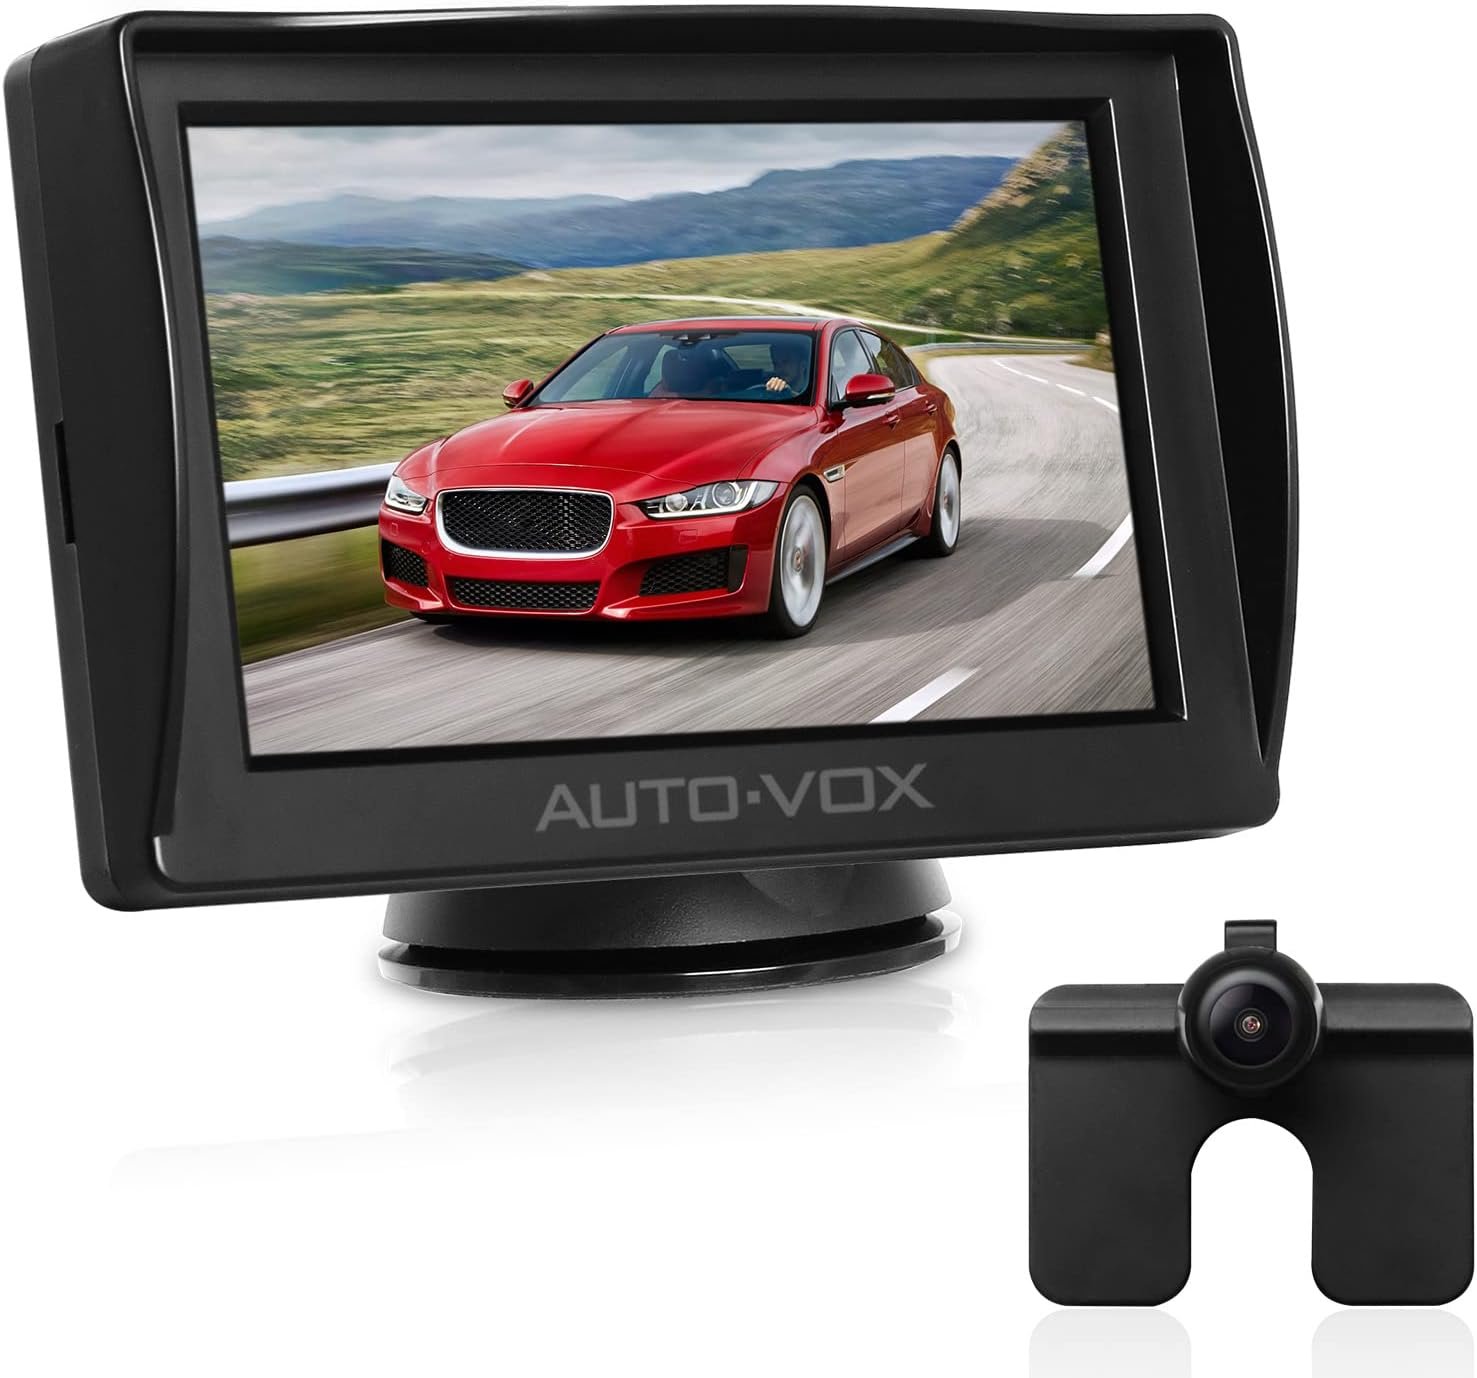
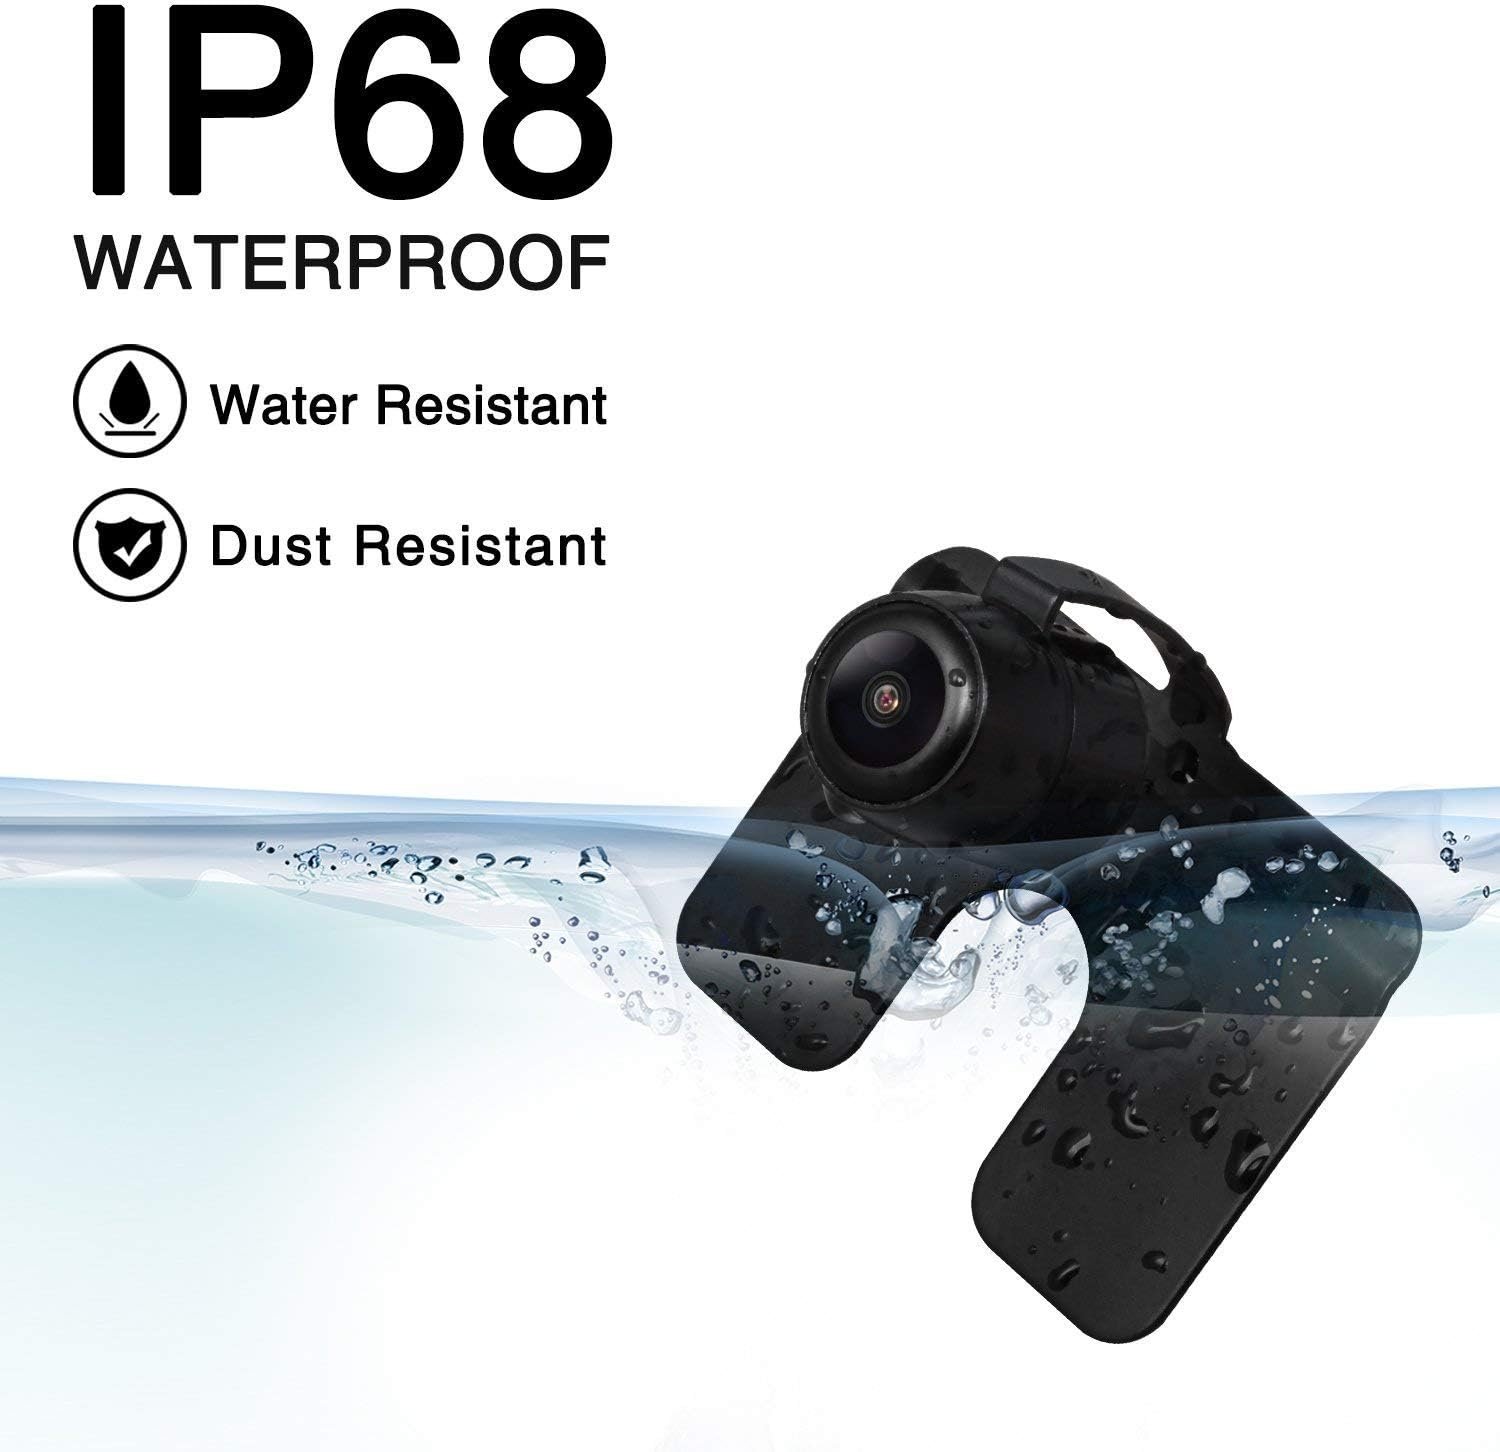
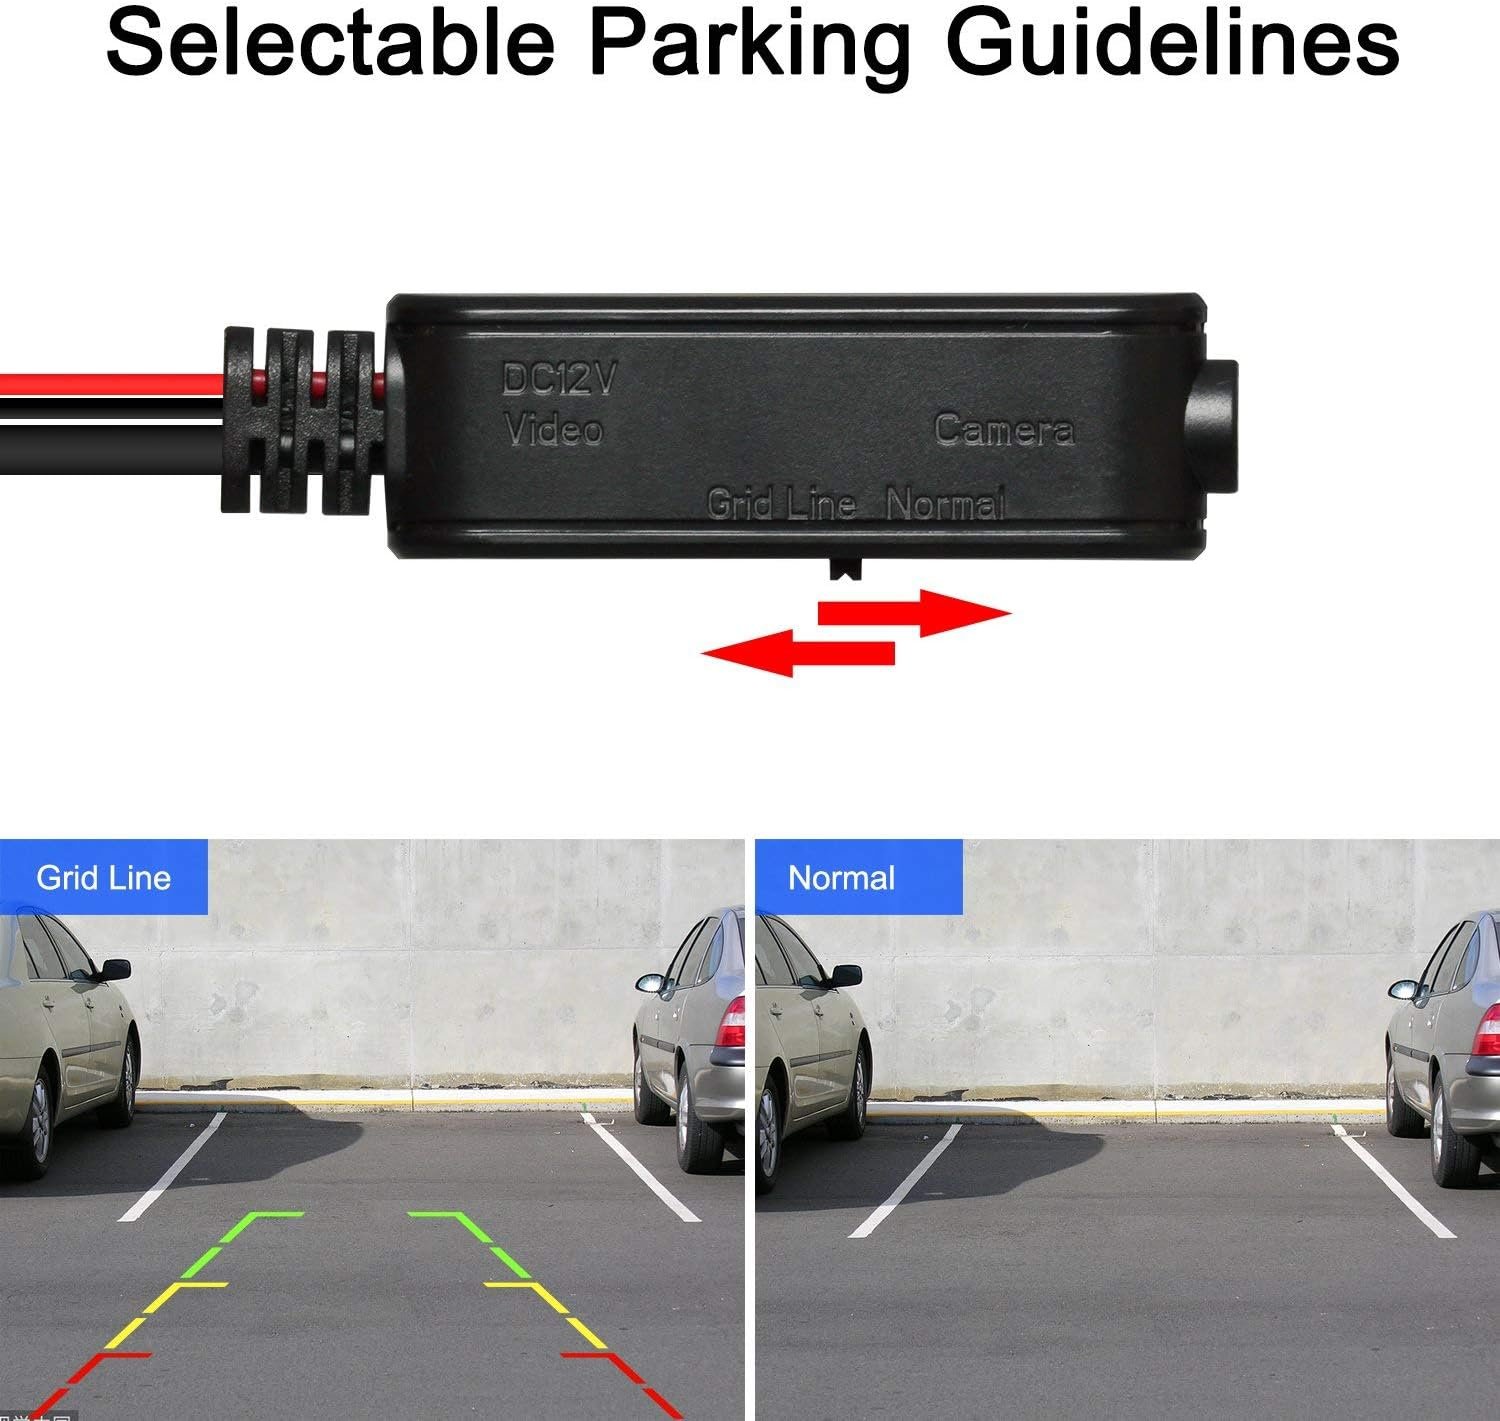
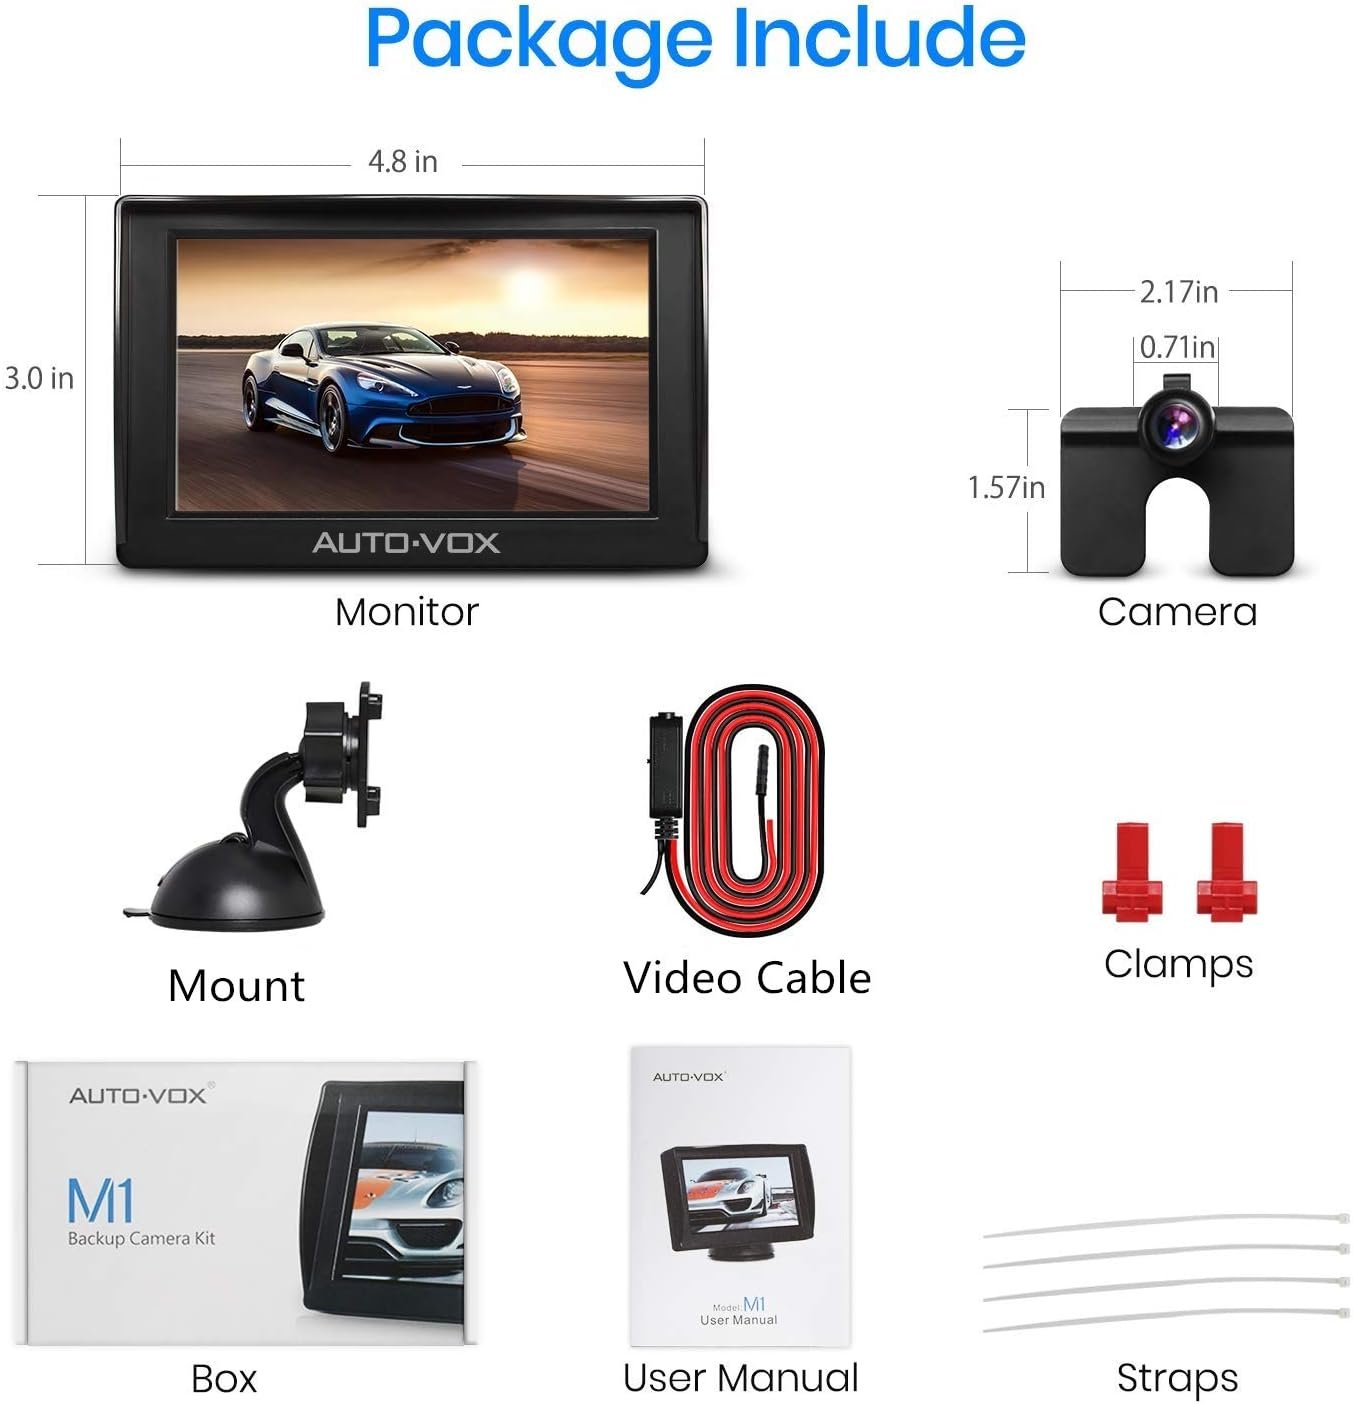
AUTO-VOX M1 Car Reversing Camera Kit Rearview Backup Camera IP68 Waterproof Night Vision, 4.3” TFT LCD Rear View Monitor Parking Assistance System with One Wire Easy Installation
Original price was: $49.99.$37.53Current price is: $37.53.





Paul –
Excellent for the price and relatively easy to fit.
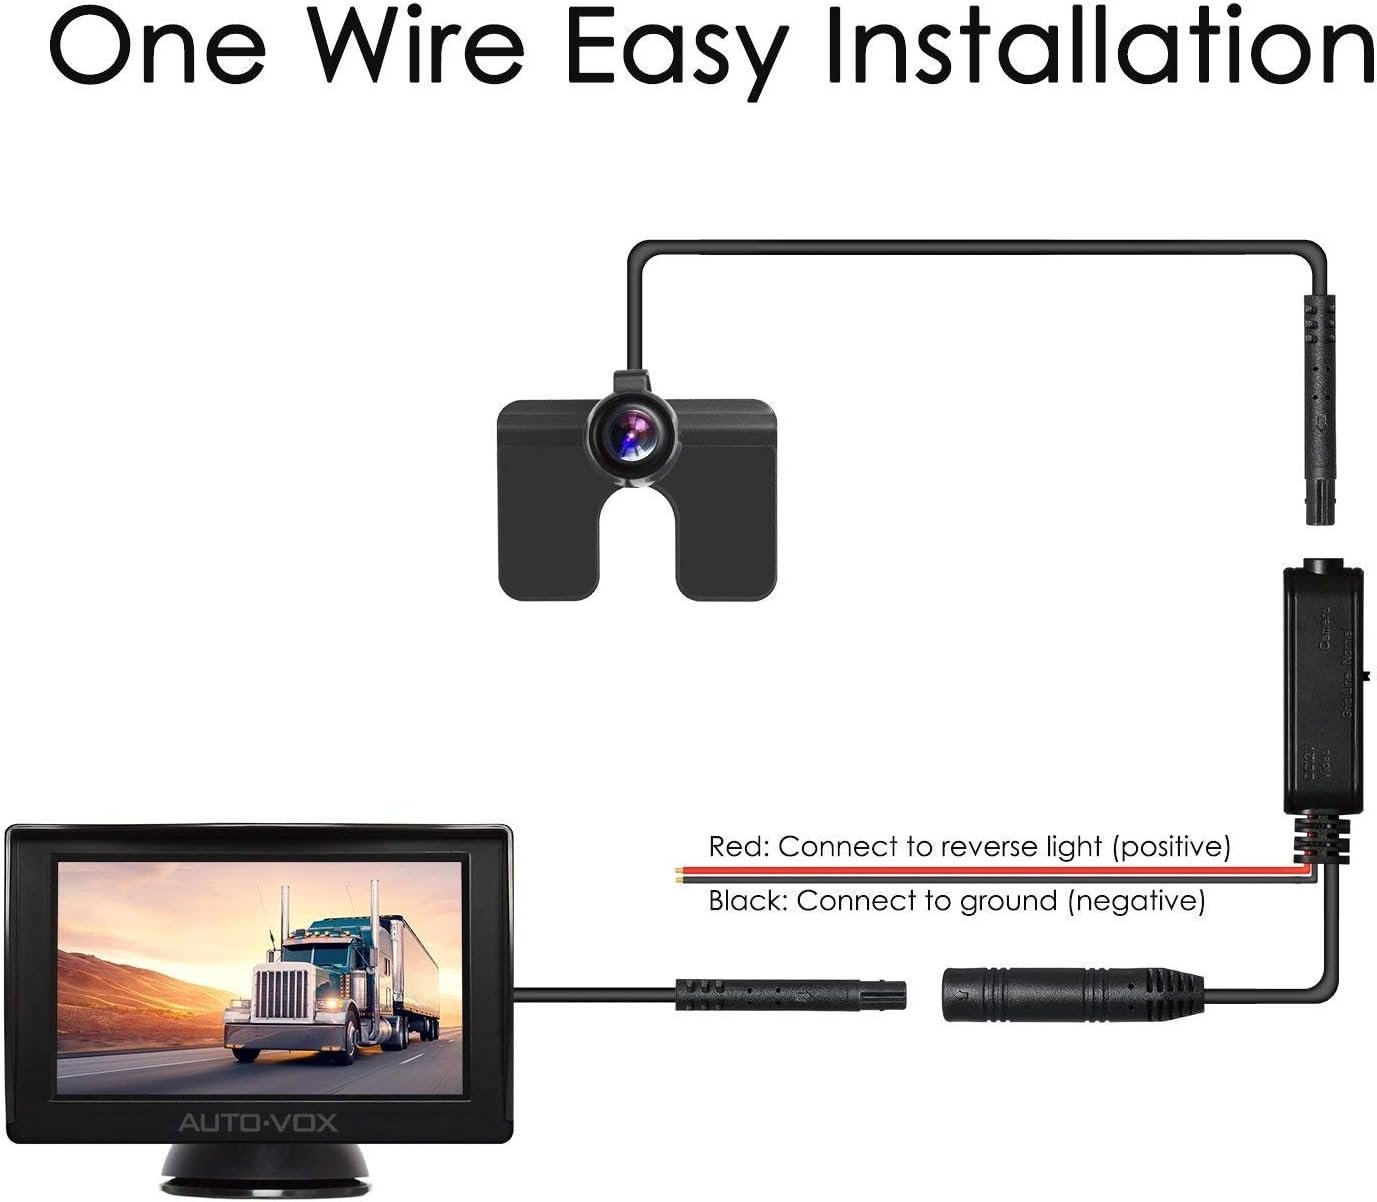
Bought this to fit a large Nissan Navara truck and have to say that generally it works very well. Just a few things to note:Fitting instructions provided are poor so suggest you check out several good videos on YouTube. Here are a few pointers on fitting. Generally very easy to fit and no special tools or electrical skills required.1. Initially I used the plastic wire taps/splicers but gave up on these as they did not connect the wires properly and the monitor did not work. Instead I ended up doing it the old fashioned way by connecting one wire to the trucks rear reverse live wire and the second wire to bare metal to earth the unit.2. Once you have connected the 2 wires I suggest you check to make sure the unit is working properly before running the cables to the driver compartment.3. Suggest you don’t fix the rear camera in place with the 3M peel back tape until you have all the cables etc fitted and then you can play around to ensure you have it positioned for the best view before permanently fitting in place.4. Took me roughly an hour to fit but this was excessive because of the issues with the supplied wire taps.Daytime image is fine but not checked at night. I can’t imagine its that great as there are no infrared sensors or anything for night vision.Cable lengths are fine for most uses. My truck needed a large cable run and the cables provided were adequate.I paid £30 and for the price you really can’t go wrong.
mark robson –
Great buy easy install
Below is My product Review of the M1W (Amazon won’t allow me to write 2 reviews for the 2 products)As With all Auto-Vox Products this Wireless Back up Camera came in a strong Sturdy box. the Screen was packed in a Foam Insert facing up and covered with a foam pad protecting the screen. Under the screen were all the mounting and wiring components.Taking the Camera out of the box it comes with a protective plastic over the Lens.InstallThis was the easiest thing I have installed in my car.I took the number plate off and drilled a 6mm Hole to allow the wire and plug to go through to the inside of the car.After removing all the trim from the Boot Lid I located the reverse light and added the Red wire from the wire harness to the positive wire on the light.I found a ground point to add the Black wire to it and confirmed the connection was secure.I hooked the camera and transmitter together and plugged in the monitor.Once the Aux power was on I slipped the car in reverse and after a second the screen came on and this allowed me to watch the screen and move the camera to the correct position before fixing it with the 3M preinstalled tape.Once this was in place I zip tied the wires into place and installed the transmitter into the Boot Lid using the 3M pad preinstalled (making sure the trim or other moving parts would not hit this)I added all the trim back to the boot lid and closed it.I routed the wire from the Monitor through to the Arm rest and plugged it inside the arm rest using the supplied lighter plug.I checked the operation of the unit when everything was back together and it works flawlessly and nothing is seen inside the car except the monitor on the window.A Great Addition to any car and an extra safety precaution.I would Recommend this to anyone. Installed in 30 minutes with limited tools.Another great product from Auto-VoxThe Below is a product Review of the M1Received within the time scale stated.Package arrived undamaged an I was greeted with a nice looking box sealed with plastic.Inside the box you receive the Camera monitor user guide zip ties connectors and the window mount all surrounded by a nice hard cardboard box and foam encasing the screen.Installation of the camera was easy in my estate car I removed the licence plate and checked behind it if I already had a through hole. I didn’t so I took the trim from the inside of the boot lid and drilled a 5mm hole enough to get the connector through from the camera to the inside of the car.Once the camera wire was through I positioned the camera where I needed it removed the tape backing and installed the license plate again.This completes the camera install on the outside of the car.The next part will differ depending on the car you have.I ran the wires to the monitor through the rubber harness and into the roof liner then into the driver side of the car all the way to the front A pillar. By hiding the wires under the door rubbers and behind the A piller cover. Nothing is seen inside the car.I brought the connector up the outside of the piller and I have about 2 inches of loose as I wanted to be able to remove the monitor if needed and it was easier to leave the connector on show.Once the wire was hidden I connected the connectors to the monitor and headed back to the rear of the car to get power to the system.The hardest part for me was finding a ground to use in the boot lid.I connected the red wire to the positive of my reverse light and then the ground wire to the ground point from the spoiler bolt.Once complete I tested the system and it worked great so I fitted all the trims back on and made the adjustments to the lens.Tip if you have installed the camera and the display looks like it is on a slant turn the lens on the camera to straighten this out.All in all took around 90 mins to install and works perfectly. Very nice display great definition and very visible but not distracting.A great buy and an extra bit of help when. Reversing into tight spaces.
Mr B –
Great rear view mirror substitute for a van
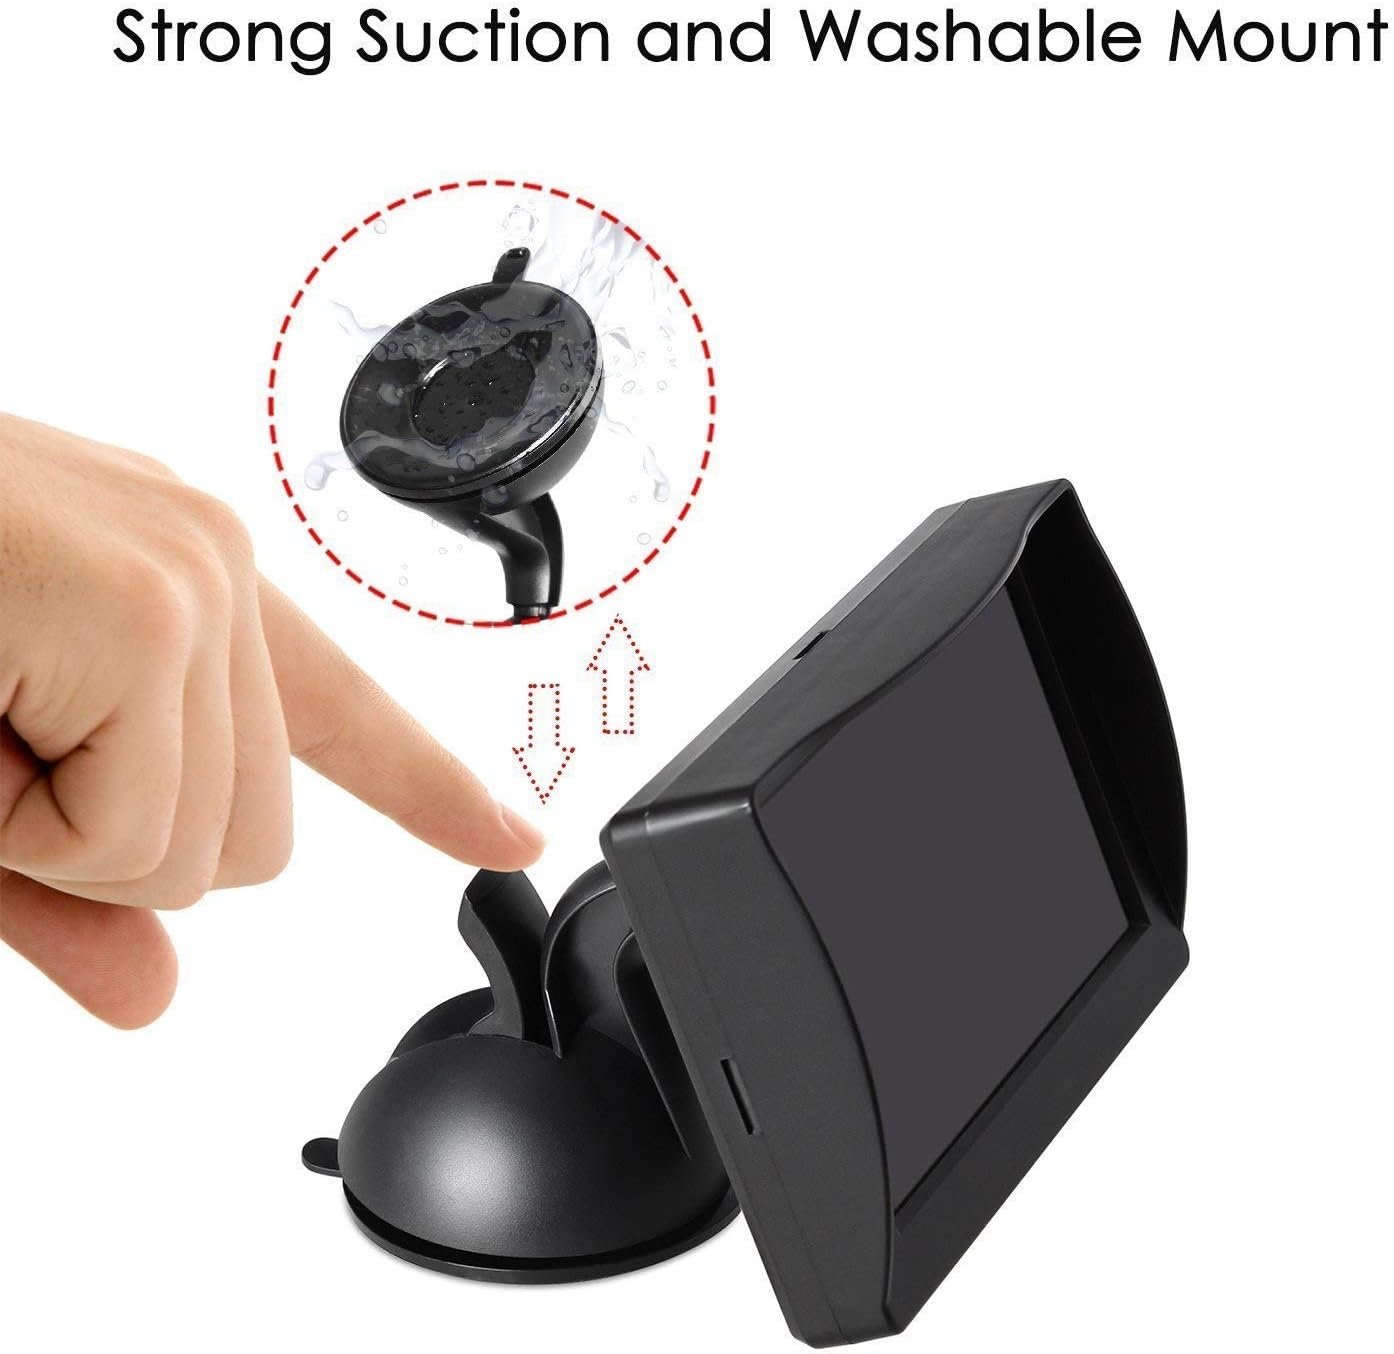
After 4 months of constant use, still working as it should.I bought it as a rear view mirror for my van, a Peugeot Partner, so when the ignition is on the camera/screen is also on.Installation is fairly straightforward. Using the supplied âscotchlockâ type connectors I took a feed from the rear accessory socket to power the system. The camera was mounted simply on the number plate using the sticky pads on the bracket, the cabling fed through where the number plate light is (the cable was thin enough for me not to have to modify the light but I would recommend you file/drill the fitting so the wiring isnât crushed).The hardest part of the install is hiding the wiring behind the panels – but if youâre not OCD about such things cable ties could be used especially in a van.The screen was then mounted where the rear view mirror should be, so far itâs stayed firmly in place with combination of suction cup and adhesive – one word of warning i found it stuck too well and without leaving residue on the windscreen itâs difficult to reposition.The image quality wonât blow you away – itâs not HD or anything like that but itâs more than acceptable with the option to change contrast etc using the buttons on the rear of the screen. The only two niggles Iâve found are when in reverse there is a very slight amount of interference on the screen, but i think thatâs down to the cable routing than the actual camera, Iâm sure placing a small capacitor in the power feed would sort this. And the other is after 4 months of exposure to the elements and power washers the camera housing has gone from a black colour to a very dull almost gold/brass colour
lorenzo alfredo rapisarda –
Facile istallazione, qualita immagine ottima. Veloce la spedizione.
Sergio –
Lo compre como alternativa ya que instalar radio pantalla en mi coche o era muy caro o no me gustaba esteticamente ya que tampoco queria perder la originalidad de mi coche (Audi A6 año 2000). Fácil instalación con enganches rapidos y unico cable fino para pasar hasta el salpicadero. Materiales aparentemente de calidad. Yo opte por comprar un imán para no usar la ventosa y asi poder camuflar el cable para que no se viera poniendo la pantalla en las rejillas. Ahora a ver la dirabilidad aunque recomiendo sacar seguro de 2años que cubre cualquier daño ocasionado por terceros o accidental.
Tomas –
Easy to install and it works as advertised.
Shawn –
I’ve had this camera for about 6 months now and couldn’t be happier. It was a very straightforward DIY install to get up and running. The picture on the display is crystal clear and I was pleasantly surprised at how well it also works at night. Even in low light levels it’s very easy to see behind my vehicle when backing up and parking.The company (AUTO-VOX) also has amazing customer service. Their great service actually lead me to write this review. When I reached out to them for support they were very quick to reply and also extremely helpful. They seem to make quality products and stand behind them. I also have a dash camera from AUTO-VOX and am very happy with that purchase as well.If you’re looking for quality products at a competitive price, I would definitely recommend giving these guys a shot.
JCFAGGIA –
Jâai été agréablent surpris par la qualité de lâemballage tout dâabord et ensuite par celle du matériel fourni.Outre le prix très compétitif, cet ensemble présente de nombreux points forts.Lâécran est dâun encombrement minimum et peut trouver sa place sur tous les tabeaux de bord. Chez moi, Audi A3, je lâai fixé sur le pare-brise avec son astucieuse ventouse collante qui semble inarrachable, et il a trouvé sa place dans le coin gauche de la planche de bord, très visible et pas gênant du tout.La luminosité, excellente, est ajustable, la netteté parfaite. 4,3′ étant une dimension suffisante pout bien voir où lâon va.La camera, minuscule, moins de 2 cm de diamètre, est montée sur une robuste tige métallique déformable qui permet un réglage au millimètre près. Bien vu!Jâai pris le modèle filaire, le wi-fi étant plus sensible aux interférences, paraît -il, jâai préféré tirer la ligne entre la camera et lâécran même si sur Audi, ce nâest pas toujours évident. Jâai néanmoins dâinfimes balayages parasites avec le moteur en route, ainsi que quelques brèves coupures dâimage. La pose dâun filtre a résolu le problème à 100%.A ce propos, le fil possède deux connecteurs, lâun côté camera, lâautre côté écran, ce qui permet un routage du fil facile, les minuscules connecteurs passant par des trous de 6 mm seulement. Bien vu également.Les fils fournis sont dâune longueur généreuse, fins et souples.En bref, cet ensemble paraît être dâune excellente facture et correspond exactement à ce que je souhaitais.Notice en français, menus écran en plusieurs langues.Reste a voir la fiabilité et la tenue dans le temps. Avec le service Amazon, je ne me fais pas trop de soucis.Je conseille.Edit :J’ai commandé été 2019. Ayant constaté d’importantes interférences moteur en route, j’ai contacté le vendeur Toshare qui, ne vendant pas le filtre nécessaire, m’a fait une remise correspondant à sa valeur. Fonctionnement parfait avec ce filtre.Autre petit ennui : la ventouse ne collait plus, un appel Toshare, et un envoi immédiat par Toshare d’une ventouse neuve.Dernier ennui en janvier 2020 : L’image est floue malgré un parfait état de la lentille de la camera. Un appel chez Amazon, retour produit et remboursement immédiat sans discussion.Vu l’efficacité du SAV et la réactivité du vendeur et d’Amazon, j’ai recommandé le même. Nul n’est parfait…5 étoiles pour Toshare pour leur sens commercial.